Monday, December 12, 2016

All Mixed Up Red Beans and Rice

Howdy!! 
When we visited New Orleans I tried a few different red bean and rice dishes and I loved them...minus the meat he he! They also went great with beignets. So I wanted to make my own and since it's been a while I went straight for my True Blood Cookbook! Oh True Blood how I miss you. I did make this before...but it had been a while! 
Check me out!
Here is an abridged Sam's Red Beans and Rice! YUM! 
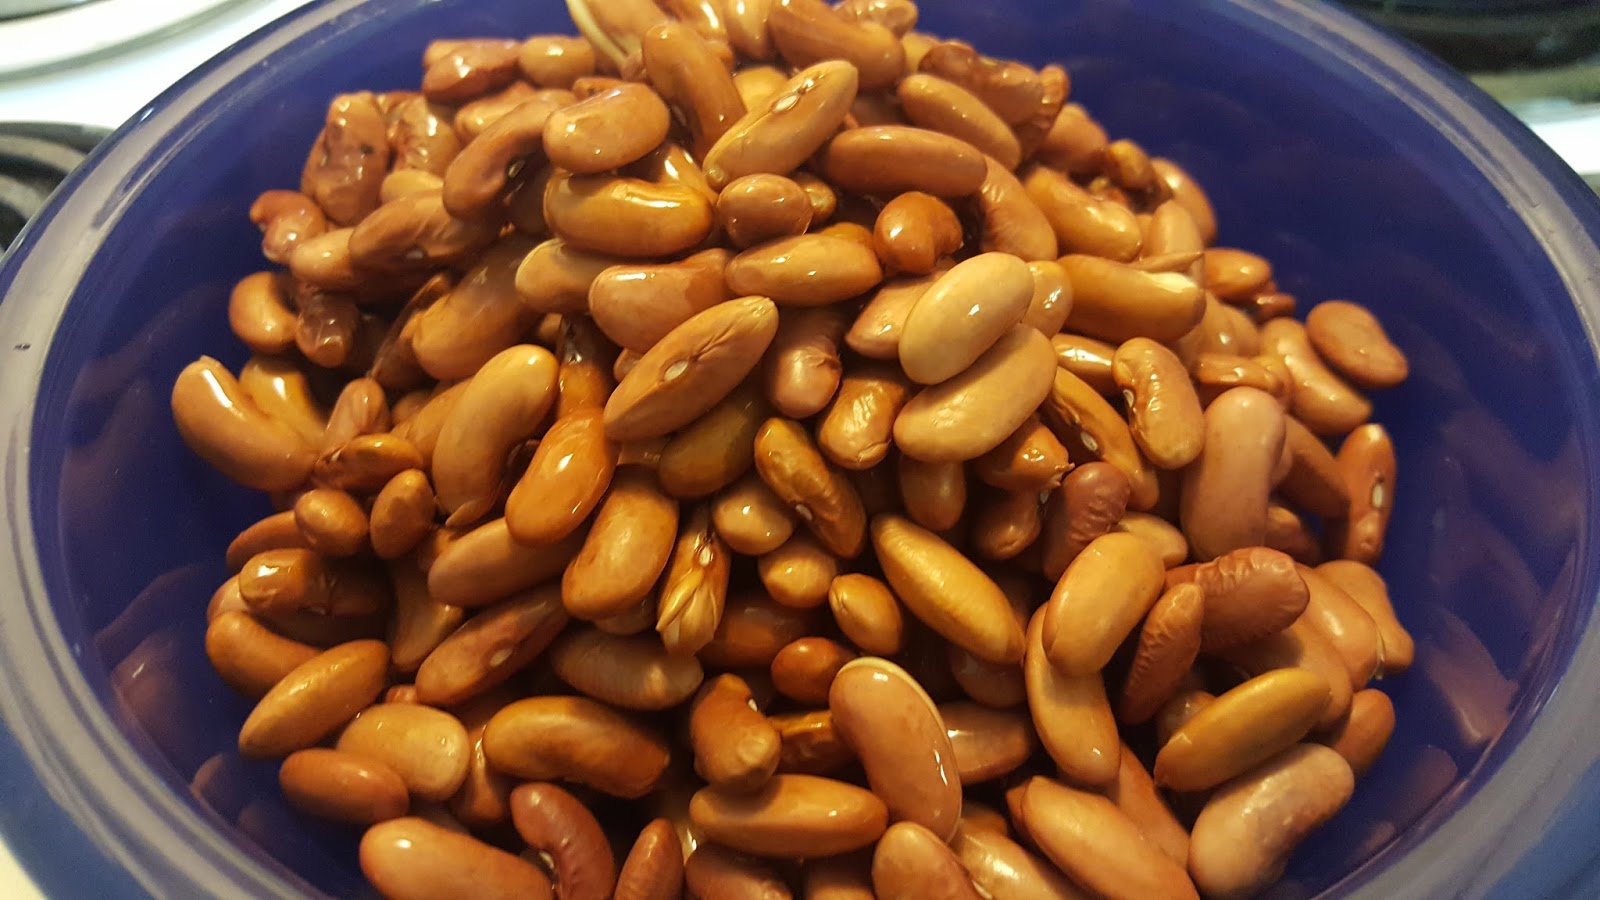
First step, soak the beans in a pot with a few inches of water overnight. In the morning drain any left over water. 
Next cut up your onion, celery and bell pepper. Heat the bacon fat in a pot then add in the veggies, pepper and cayenne and stir until they are golden. 
Cut up the sausage and ham then add to your golden veggies. We opted to forgo the salt pork and added a pinch of salt to the mix. Stir until meat is slightly browned and then add in the red beans and water. 
Make sure to add enough water so that the mixture is covered. Let cook for a few hours, stirring occasionally. Of course Jack got a piece too...but what's new ha ha!  Next take a wooden spoon and mash half of the mix to one side, breaking up the beans a bit. While you wait, make your rice to add to the dish! We opted for brown rice this time around. Continue stirring for another 30 mins until beans are soft and then serve.
There you have it...red beans and rice! Delish!
Cheers! Bunny

Monday, December 5, 2016

Mint Chocolate Chip Fudge

Good Morning!! 
Last night I made some yummy Mint Fudge! 
They turned out great so I decided to bring them into work. Mint has always been a favorite of mine so when I saw this simple recipe for fudge I had to try it out. Plus who doesn't love mint chocolate chip....a crazy person that's who!
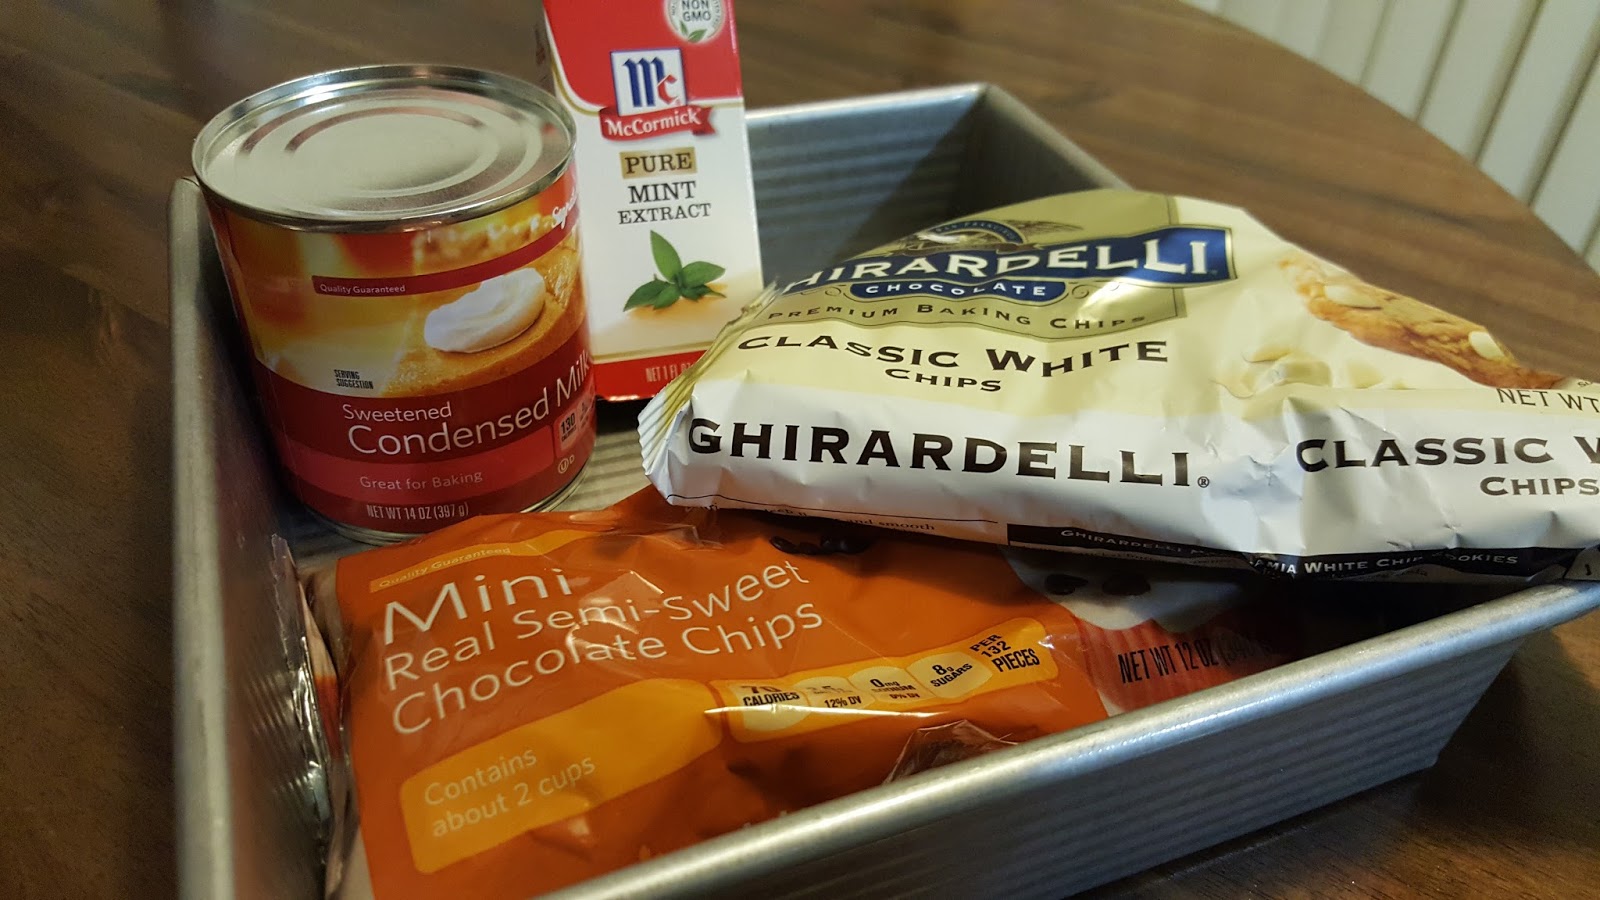
What you will need: 
3 1/4 cups of white chocolate chips
2 tablespoons of butter
1 can of sweetened condensed milk
2 to 3 teaspoons of mint extract, NOT peppermint
Green food coloring
and 3/4 cups of mini chocolate chips
First you need to line an 8x8 square plan with tinfoil and some cooking spray, next microwave the white chocolate chips and butter for 1 minute. Stir together and make sure that all chips are melted.
Mix in the condensed milk and mint. Add the green food coloring, about three drops. Once mixed completely let the mixture sit and cool off a bit, then fold in half of your mini chips!
Add the fudge to your pan and press evenly. Add the remaining mini chips to the top of the fudge. Refrigerate for about 2 hours then VOILA! 
Mint Chocolate Chip Fudge! Make sure to share he he!
Thanks! Bunny

Saturday, November 5, 2016

Halloween Fun!!!

Happy Halloween Everyone!
Here is a quick Joker inspired shot to get you in the mood for some Squad fun! We made a small change, from the video, and used a different vodka so the drink turned out green...to please the Joker.
I got the base recipe from http://allmommywants.com/suicide-squad-inspired-cocktail-joker-gone-wild/ called Joker Gone Wild. Thank you Carol! Totally YUM!! A little sour with a rim of sweet...a true Halloween treat!
Here are some clips from our Halloween in New Orleans! It was beyond fun! Of course Craig was my Joker and I love how he got into character. Love this guy!
Cheers!! -Bunny

Monday, October 24, 2016

Suicide Squad Cocktail

Happy Almost Halloween!! 
Cheers to drinks, candy and costumes!!
Playing off of a SSquad shot from http://allmommywants.com/cocktail-the-suicide-squad/ called the Purple Joker I decided to make my own with a blue twist. 
You will need: 
2 oz Blue Curacao
1 oz Peach Schnapps
1/2 oz Rum
1/2 oz Cherry Vodka
1 tsp Grenadine
3 oz Ginger Ale
2 tbs sugar 
3 drops green food coloring
1 tbs Simple Syrup
Mix three drops of green food coloring with your sugar, make sure to crush it together evenly and set aside in a shallow plate. Add the simple syrup to another shallow plate.
Take each ingredient and pour into your bar shaker, ginger ale last. This will add a nice fizz to your cocktail. I always use a bar mixer with the measurements on the side (shhhh don't tell anyone)...might be cheating but I don't want to mess it up! Next, dip the rim of your glass/tumbler in the simple syrup then into the sugar. You can add as much sugar as you'd like he he!! Drop 3 to 4 cubes of ice into your glass and pour your mixture in and voila! A beautiful blue bubbly mix topped with a green rim of sugar! 
This fizzy mix has a kick but the sugar rim definitely softens the blow! Plus some cherry vodka doesn't hurt he he! The ratios were perfect and nothing was too overpowering! I will totally be adding this to my list of cocktails to make again. I think we need to start a bar list!
Cheers, Bunny

Monday, October 17, 2016

Liquified Ghost

Morning, 
Playing off a cocktail mix from a cute site, SmartyhadaParty: http://blog.smartyhadaparty.com/halloween-cocktails/  
I made a yumtastic drink fit for Halloween! So you all must know by now that Autumn is one of my favorite times of the year. The gloomy weather fit for sweaters and cocoa, the Gothic decor and around every single corner, pumpkin spice! The perfect time of year for Halloween themed drinks.
Moving away from pumpkin, I made a truly yummy Liquified Ghost! It was very close to a White Russian and sometimes drinks with dairy don't sit well with me but the hint of sparkle and lime agreed with my tummy. For some reason it added a zest or bubble that took away the possible "urk" ha ha!
Here is what you need:
1 part vodka
1 part vanilla simple syrup
1 part cream
1 part lemon lime soda

black licorice wheel garnish (optional)...we had some cute little licorice pieces that we added but they didn't really impact the drink at all. If you are a black licorice fan I definitely recommend adding it to the cocktail, maybe even dipping some in or using it as a straw!
Go ahead and pour ingredients over an ice shaker, shake and strain into a martini glass (I need to get myself a true martini glass...Marshals here I come!) and add the licorice.
For a more devious cocktail, add a red ice skull for a Blood Ghost. We found cute ice cube molds and added food coloring! Spooky!
Ps. Super happy with how my DIY Nightmare Before Christmas Wreath turned out!! Perfect for Halloween!!
Cheers, Bunny

Monday, October 10, 2016

Happy Hippo Lien: Row- Row- Row Your Clog

Happy Hippo Lien: Row- Row- Row Your Clog: If you are following my blog, you already know that I love all the hippos handmade by the very talented artist Jen Robinson (see Posts: Hip...

Monday, October 3, 2016

Madeleines

Good Morning, 
So I lied! I ended up not making pie (yet) and went for some spongy-goodness in the form of madeleine! Besides their obvious yum factor I had been given a madeleine pan as a wedding gift (about time right!?) and every single morning my new boss comes into the office, sits down, and eats a madeleine. These were too perfect!
I found a simple recipe online and started putting my ingredients together. 
2/3 cup of flower
1 teaspoon baking powder
1/4 teaspoon fleur de sel (salt)
1/3 cup sugar
Finely grated lemon zest (1 lemon)
2 eggs
1 tablespoon honey
1 teaspoon vanilla extract
1/2 cup unsalted butter, melted (leave a little unmelted for the pan)
2 tablespoons whole milk
____________________________________________
Alright! Onward to deliciousness!
In a small bowl mix together the flour, baking powder and salt, set aside. Place the sugar and lemon zest in a bowl, mix and rub together with your fingertips until sugar becomes moist. This created such a fresh lemon scent!  
For convenience, I went ahead and placed the sugar zest into my big mixing bowl and then added the eggs, giving me a lot more room! Whisk the mixture until it thickens a bit. Next add the honey and vanilla. Gently add the flour in (in three parts) and then the butter. Lastly, carefully stir in the milk. The batter will begin to look smooth and shinyCover the bowl with plastic wrap and set in the fridge for about an hour. 
While you wait, butter and flower the madeleine pan. After the batter has properly chilled out, he he! spoon it into the pan and then set in the fridge for another hour. The batter will set into the molds and give it the classic madeleine shell shape! Set the oven to 400 degrees and place a large baking sheet inside for the madeleine pan to sit on. This helps to preheat the pan/process. 
Next, remove from fridge and place the madeleine pan into the oven and set your timer for 13 mins. I found that it really did not take long for them to bake, so be sure to check on them and to not leave them in too long!
After they have turned a lovely golden color (note: wait until the bumps spring back when touched), quickly remove the madeleines from the oven and release them from the pan. After a short cool-off dive in!
The madeleines were fluffy with a slight crispness on the edges. The lemon flavor was there, but not overpowering and on top of being simple to create they had the perfect amount of sweetness. Craig was pleased as well he he! So...here is another dessert that is dangerous to make, just like those pesky French macaroons! So so so yummy!!! I think I had 4 of them he he! 
Thank you for reading and stay tuned for my next creation. 
-Bunny
Ps. I brought some in for my boss, cheers Mark!

Bloglovin

Follow on Bloglovin